The ADU Construction Process: What to Expect
Embarking on the construction of an Accessory Dwelling Unit (ADU) is an exciting venture for any homeowner. Understanding the journey from concept to completion can help set realistic expectations and prepare you for the process ahead. Here’s a broad overview of the typical phases you’ll encounter when constructing an ADU in California.
Planning Phase with Your ADU Contractor
Initial Consultation: This meeting sets the stage for your project. You’ll discuss your needs, desires, and budget, and the contractor will offer insights into feasibility and potential challenges.
Site Evaluation: Your contractor will assess your property to identify the best location for the ADU, considering factors like access, topography, and local regulations.
Project Scope Definition: Together, you’ll define the scope of work, which will guide the design process and ensure that everyone’s on the same page.
Design and Permitting Phase
Design Development: An architect or designer, often provided by the contractor, will create preliminary designs based on your vision and the project scope.
Revisions: You’ll have the opportunity to review and request changes to the designs to ensure the final plan meets your needs.
Finalizing Plans: Once you approve the designs, they’ll be finalized and prepared for the permitting process.
Permit Submission: Your contractor will navigate the complexities of local regulations to submit the necessary documents for building permits.
Permit Approval: Waiting for permit approvals can be time-consuming. Your contractor should keep you updated on the progress and handle any issues that arise.
Construction Phase
Site Preparation: This includes clearing the area, setting up utilities, and ensuring the site is ready for construction.
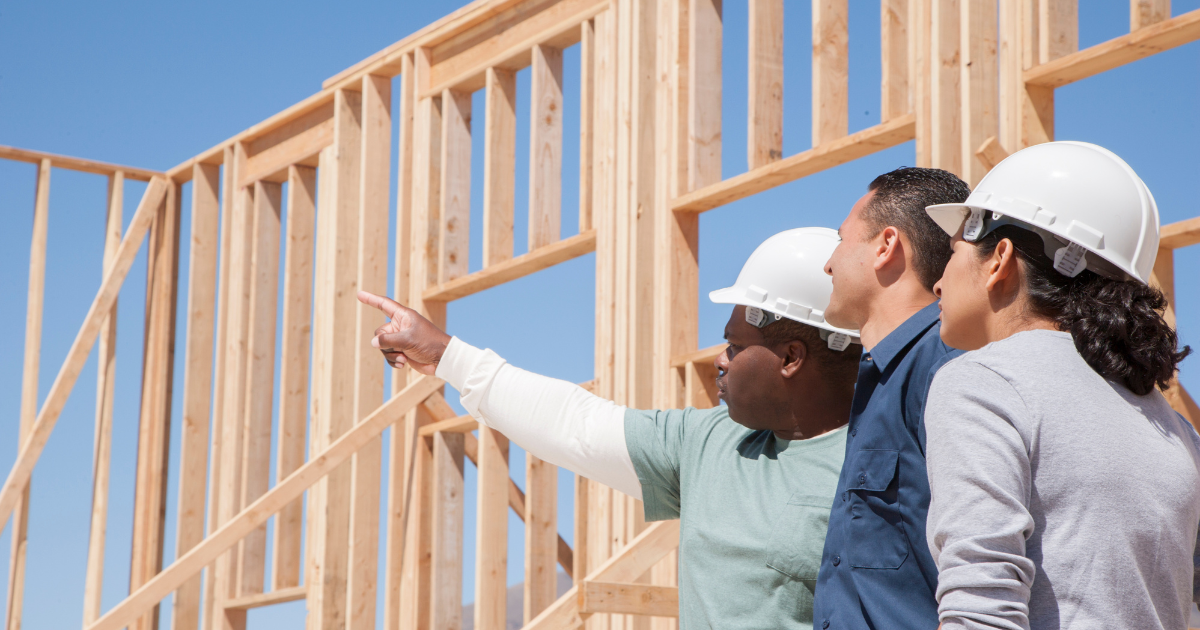
Foundation and Framing: The ADU begins to take shape with the laying of the foundation and framing of the structure.
Mechanicals: Electrical, plumbing, and HVAC systems are installed.
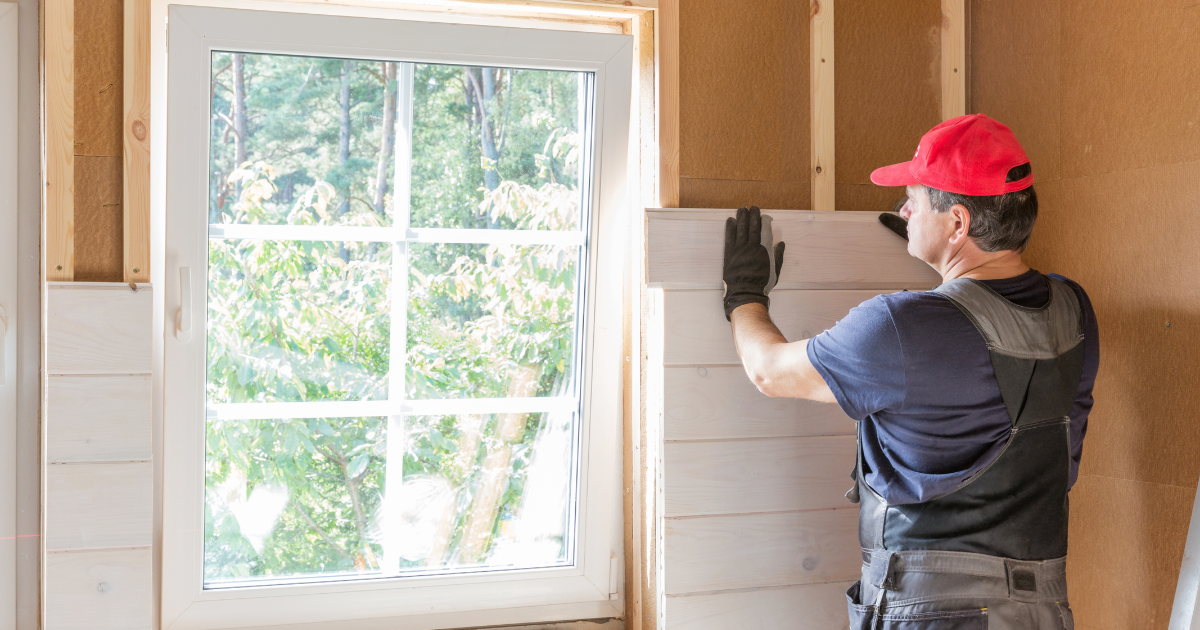
Insulation and Drywall: Once the mechanicals are in, insulation is added, and walls are closed up with drywall.
Finishing Touches: Interior finishes, painting, flooring, and fixtures are completed.
Exterior Work: Simultaneously with interior work, the exterior of the ADU will be completed, including siding, roofing, and painting.
Landscaping and Site Cleanup: After construction, the site is cleaned up, and any final landscaping is completed.
Final Walkthrough and Handover
Punch List Creation: During the final walkthrough with your contractor, you’ll create a punch list of any outstanding issues or minor corrections needed.
Punch List Completion: The contractor will address all items on the punch list to your satisfaction.
Final Inspection: A local building inspector will ensure that the ADU meets all code requirements and issue a certificate of occupancy.
Handover: With the final inspection passed, your contractor will hand over the keys, and you’ll receive any warranties or manuals for appliances and systems.
Constructing an ADU is a multifaceted process that requires patience, flexibility, and a clear line of communication with your contractor. Knowing what to expect at each phase helps you stay engaged and informed as your new space takes shape. With the right team and mindset, the journey to completing your ADU can be as rewarding as the destination itself.
Looking for the right team to help with your ADU build in California? Contact us at Madison Builders. We would love to work with you to make your dream ADU a reality.
Recent Posts

Financing Your ADU
The ADU Construction